


Mark and I have been married, living in the same apartment, and talking about getting photos up on the walls for nearly three years. And I've been wanting to paint, hang art, decorate for our space for as long as we've lived there.
I don't know what took me so long to do it. Maybe it's the fact that putting up picture frames costs quite a bit - if you're like me and want everything beautifully matching and all up at once. Maybe it's never knowing how much longer we will be there, and worrying that painting will have been a waste of money if we move out two months later. Maybe it's the fact that I don't want yet another thing to fix and return to it's original state when we move out. Whatever the answer, I can tell you that a house (or apartment, in this case) feels so much more like home when you have photos of your family on the wall.
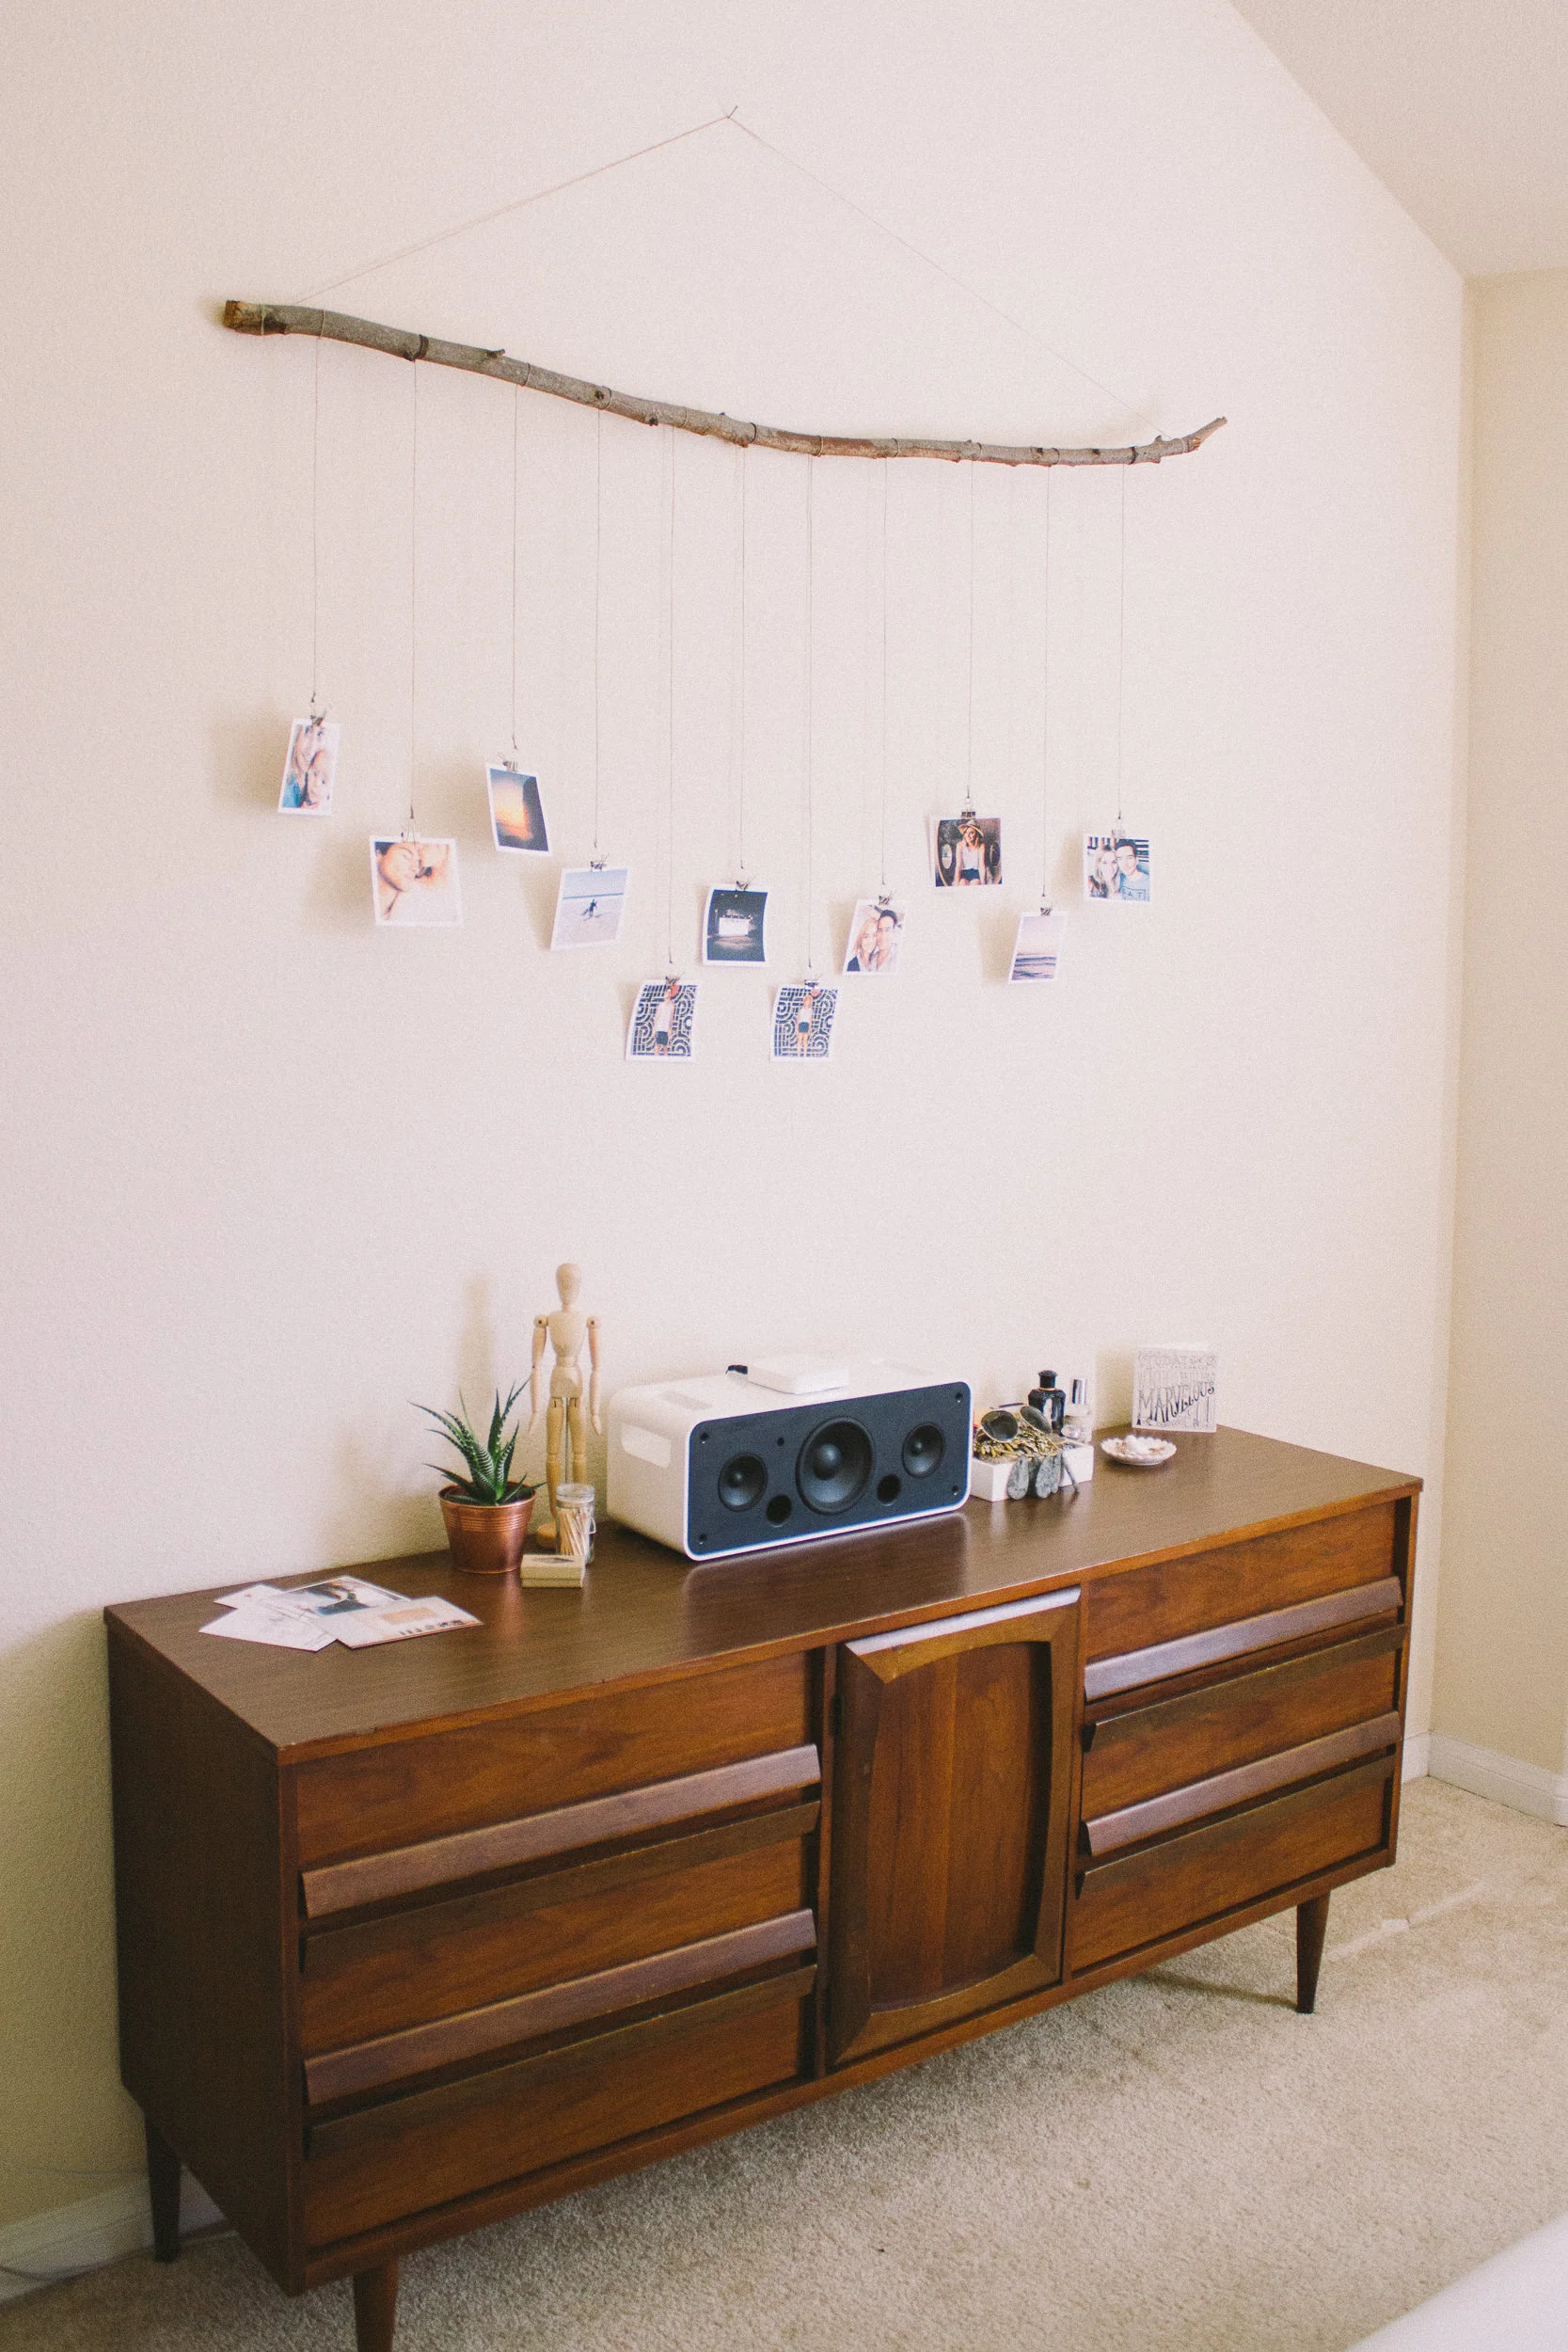
This Tree Branch Photo Hanger is the perfect solution for renters like Mark and I. You can display a plethora of photos with only putting a single nail hole in the wall, and you can change the photos out as often as you like. And when people tell you how cool it is, you can have the satisfaction of telling them that you made it yourself.
MATERIALS
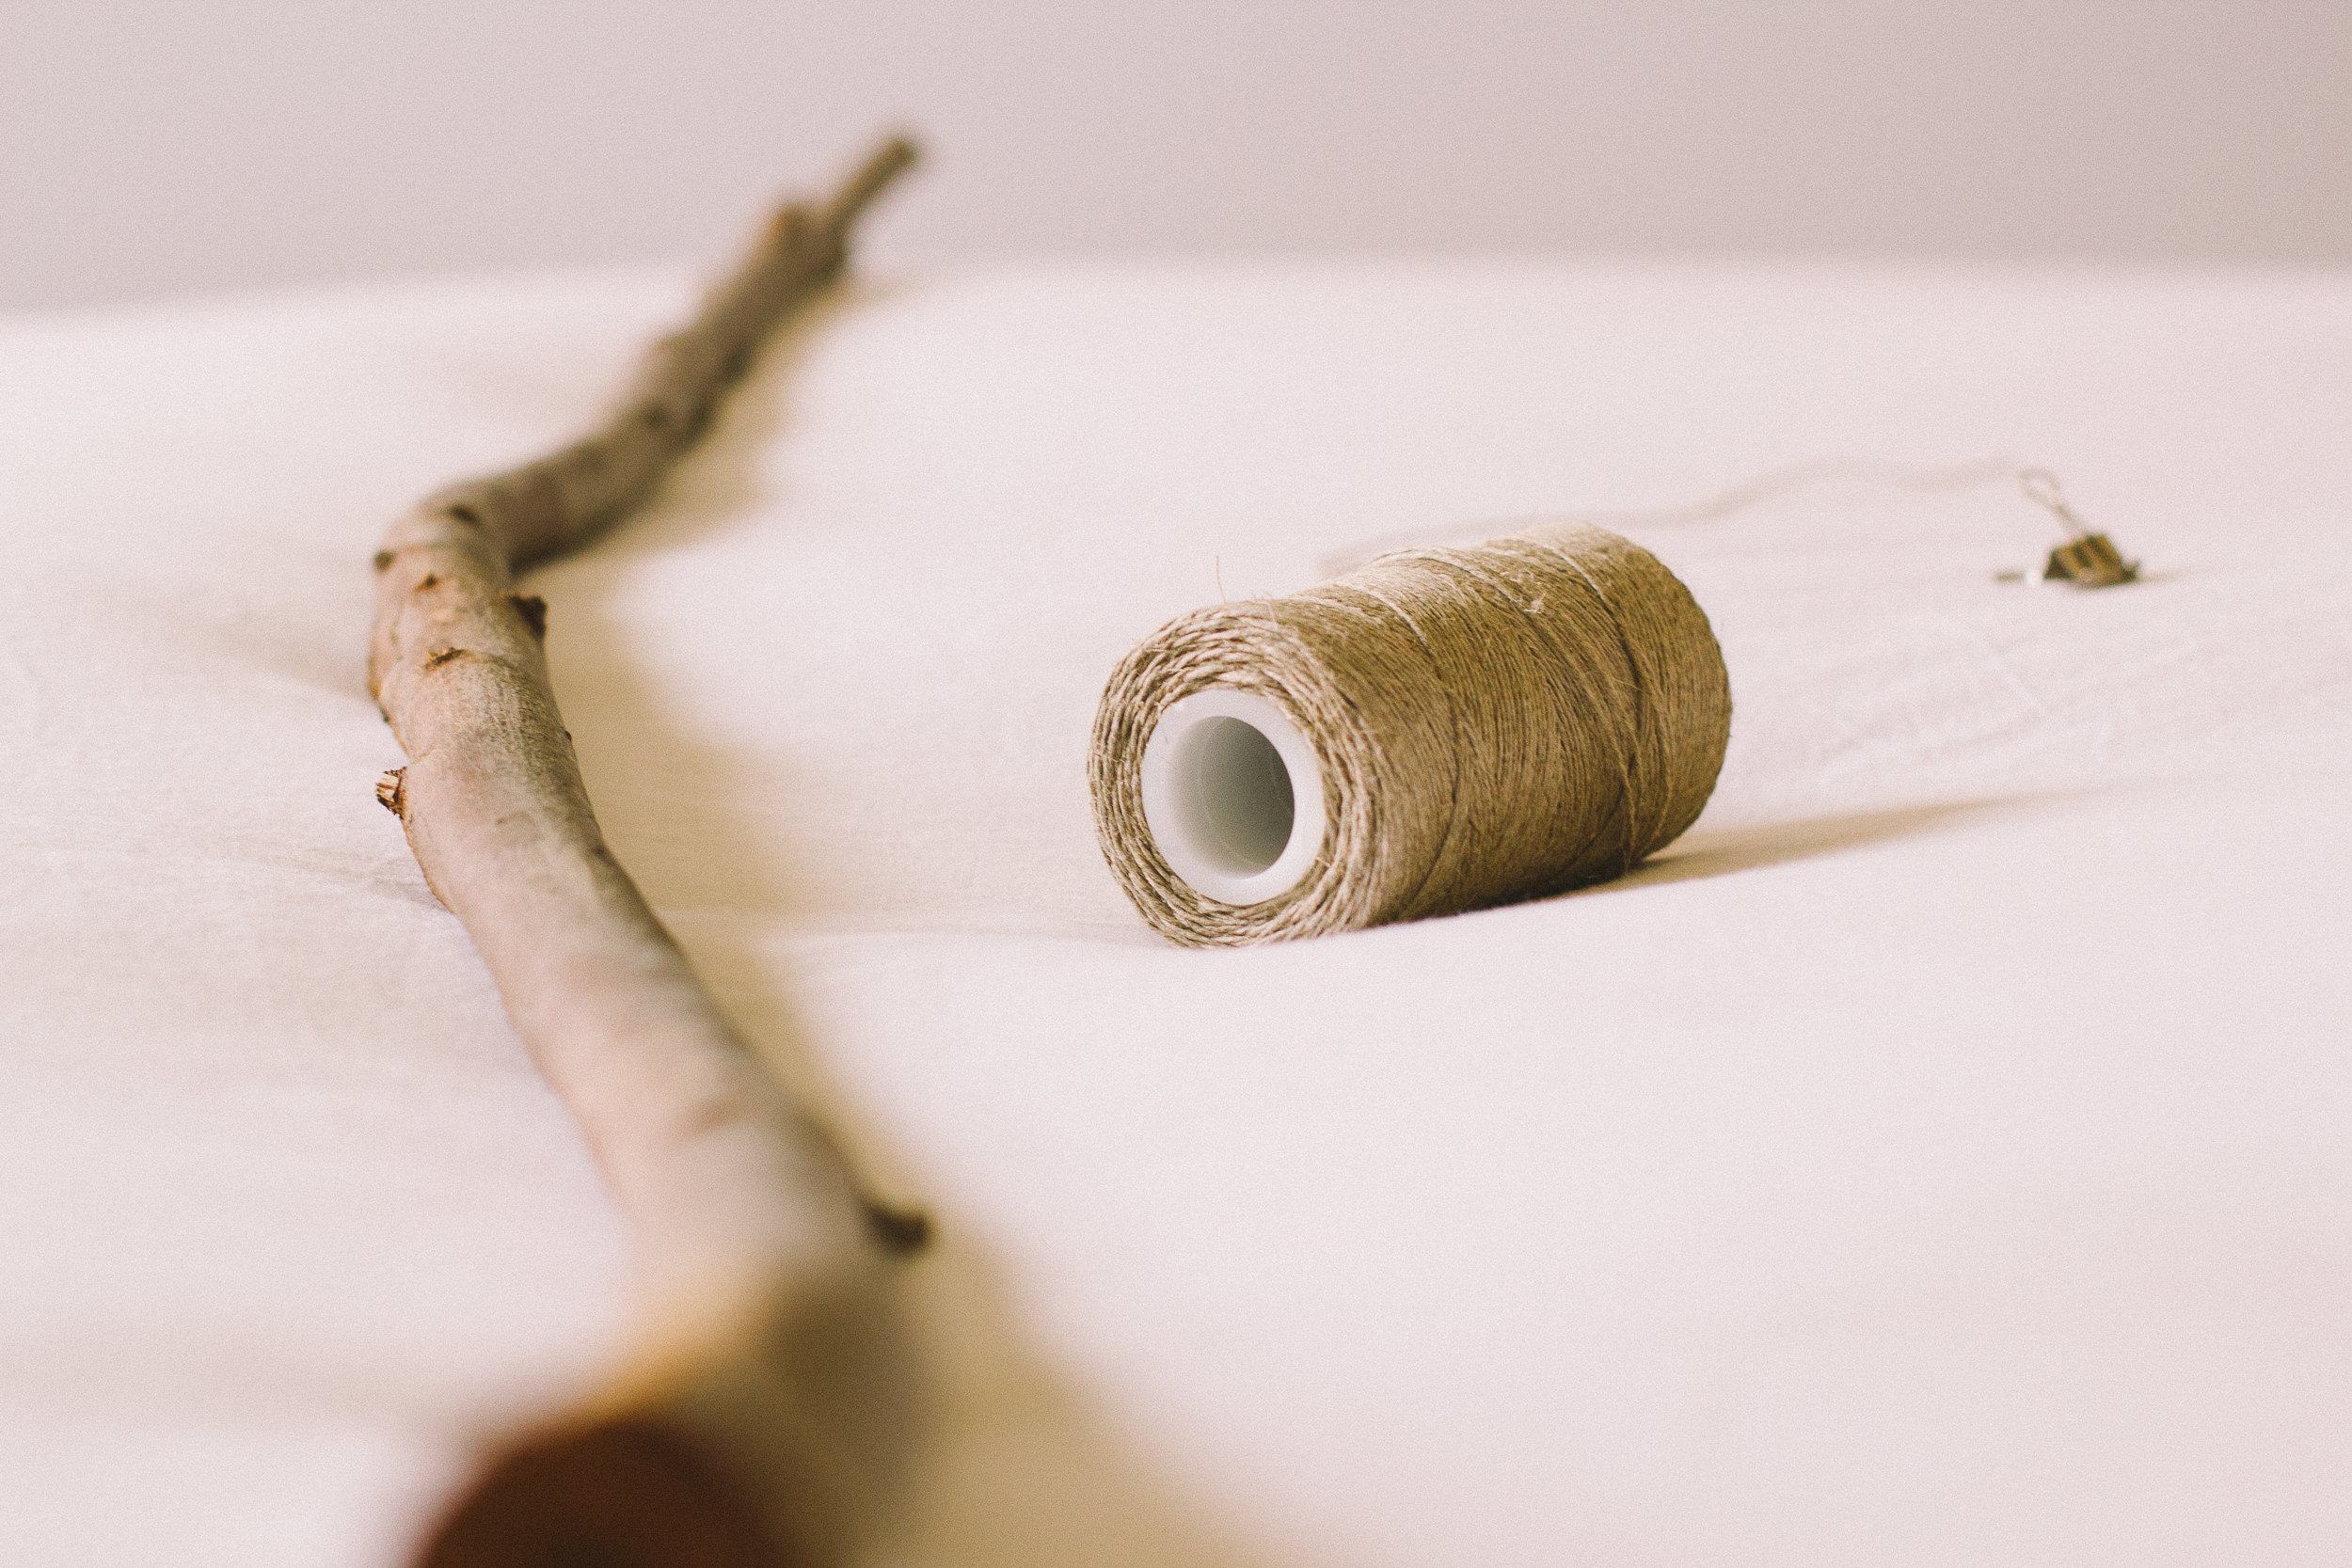
hemp twine
3-4 foot long branch (choose one that is relatively straight)
small silver binder clips (not mini!)
super glue
hammer + nail
square cropped photos (printed on card stock, with a white border)
STEP ONE
Cut a length of hemp twine long enough to hang the branch on the wall. Tie either end around the branch twice, make sure it is secure, and trim off any excess.
STEP TWO
Figure out where you want the photo hanger to hang from, and how high. Tap a nail into the wall at a slant, and hang the branch on the wall.
STEP THREE
Measure out how long you want the center photo strand to hang. Cut another length of hemp twine (slightly longer than what you measured, and tie the end around a binder clip (I used a lark's head knot to keep the lines clean). Dab a bit of super glue on the knot to keep it secure.
Gently clip a photo on the binder clip. Position and tie the top of the hemp strand over the branch so that the photo hangs straight.
Repeat STEP THREE at varying heights until the branch is full (I created eleven photo strands).
Dab a dot of super glue on the top of each photo strand, where it loops around the branch.
STEP FOUR
Position and place the remaining binder clips and photos, along the photo strands at varying heights. Rearrange as desired until you like the placement.
STEP FIVE
Lay back and relax, while you enjoy your aesthetically pleasing new Tree Branch Photo Hanger.