Eats Natalie Griffo 12/24/24 Eats Natalie Griffo 12/24/24 The Best Gluten Free Sugar Cookies Read More Interior Design, Design, Villa Natalie Griffo 11/22/23 Interior Design, Design, Villa Natalie Griffo 11/22/23 Thanksgiving Table 2023 Read More Design, Interior Design, Villa Natalie Griffo 4/23/21 Design, Interior Design, Villa Natalie Griffo 4/23/21 La Villa Griffo | Christmas 2020 Read More Design Natalie Griffo 4/23/21 Design Natalie Griffo 4/23/21 Client | Van Boxtel Read More Villa, Interior Design Natalie Griffo 12/30/19 Villa, Interior Design Natalie Griffo 12/30/19 La Villa Griffo | Christmas 2019 Read More Eats Natalie Griffo 5/22/19 Eats Natalie Griffo 5/22/19 Sweet Laurel's Double Chocolate Brownies Read More Baby, family, Motherhood Natalie Griffo 1/31/19 Baby, family, Motherhood Natalie Griffo 1/31/19 Chloé | One Read More Life, Villa, Interior Design Natalie Griffo 11/14/18 Life, Villa, Interior Design Natalie Griffo 11/14/18 Creative Confession Read More Baby, Motherhood, family Natalie Griffo 10/31/18 Baby, Motherhood, family Natalie Griffo 10/31/18 Chloé | 08 - 09 Months Read More Motherhood, Baby, Life Natalie Griffo 5/31/18 Motherhood, Baby, Life Natalie Griffo 5/31/18 Chloé | 04 Months Read More Baby, Motherhood, Villa, Interior Design Natalie Griffo 5/15/18 Baby, Motherhood, Villa, Interior Design Natalie Griffo 5/15/18 Chloé's Nursery Reveal Read More Natalie Griffo 5/1/18 Natalie Griffo 5/1/18 Chloé | 03 months Read More Life, Motherhood, Baby Natalie Griffo 4/1/18 Life, Motherhood, Baby Natalie Griffo 4/1/18 Chloé | 02 months Read More family, Baby, Life, Motherhood, portrait Natalie Griffo 2/28/18 family, Baby, Life, Motherhood, portrait Natalie Griffo 2/28/18 Chloé | 01 Month Read More Motherhood, Baby Natalie Griffo 10/10/17 Motherhood, Baby Natalie Griffo 10/10/17 Big News Read More Older Posts
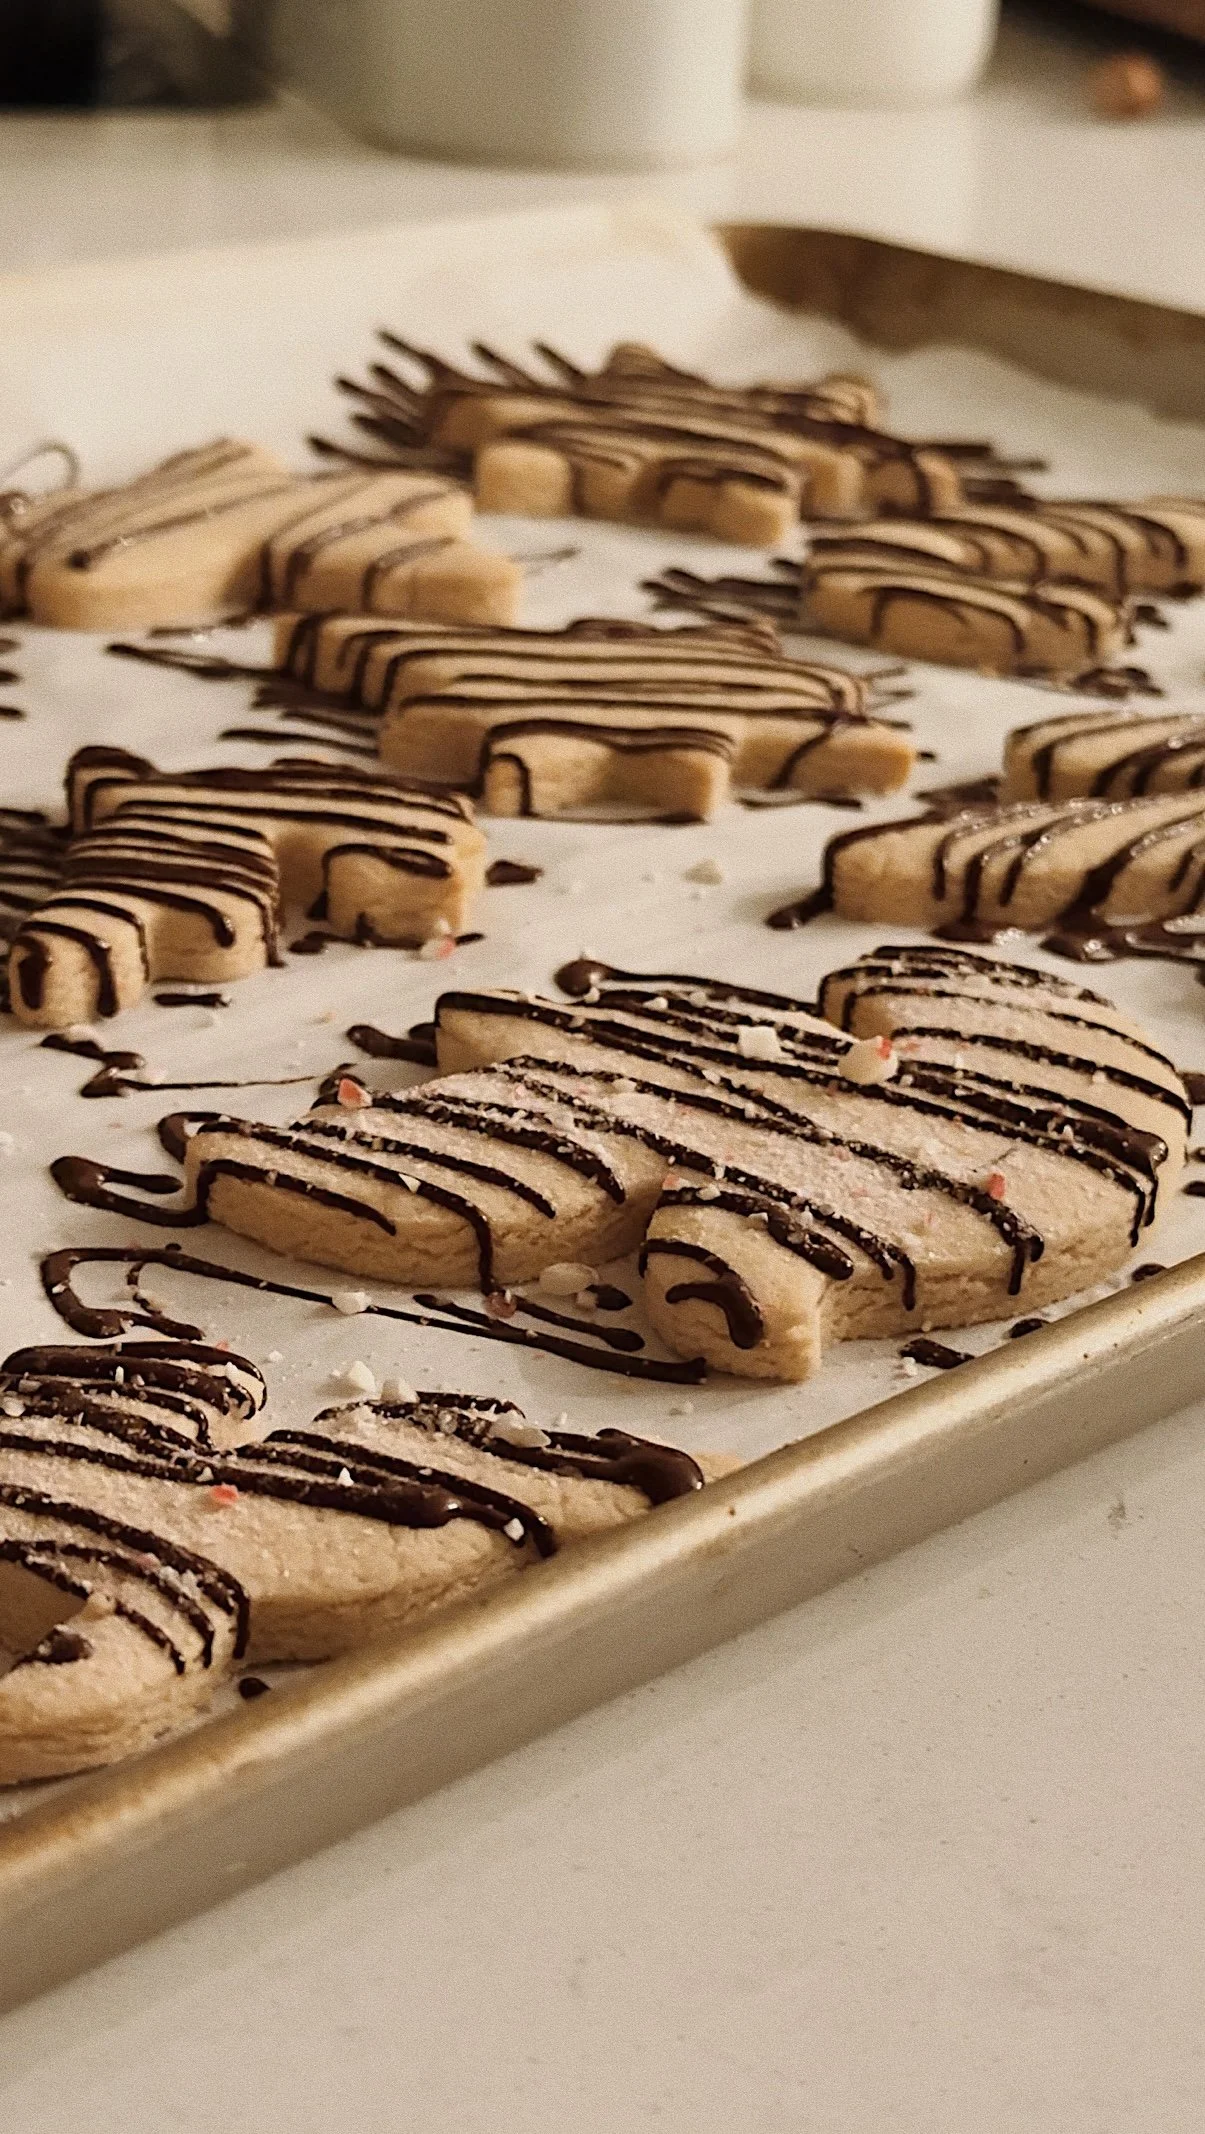
Eats Natalie Griffo 12/24/24 Eats Natalie Griffo 12/24/24 The Best Gluten Free Sugar Cookies Read More
Interior Design, Design, Villa Natalie Griffo 11/22/23 Interior Design, Design, Villa Natalie Griffo 11/22/23 Thanksgiving Table 2023 Read More
Design, Interior Design, Villa Natalie Griffo 4/23/21 Design, Interior Design, Villa Natalie Griffo 4/23/21 La Villa Griffo | Christmas 2020 Read More
Villa, Interior Design Natalie Griffo 12/30/19 Villa, Interior Design Natalie Griffo 12/30/19 La Villa Griffo | Christmas 2019 Read More
Eats Natalie Griffo 5/22/19 Eats Natalie Griffo 5/22/19 Sweet Laurel's Double Chocolate Brownies Read More
Baby, family, Motherhood Natalie Griffo 1/31/19 Baby, family, Motherhood Natalie Griffo 1/31/19 Chloé | One Read More
Life, Villa, Interior Design Natalie Griffo 11/14/18 Life, Villa, Interior Design Natalie Griffo 11/14/18 Creative Confession Read More
Baby, Motherhood, family Natalie Griffo 10/31/18 Baby, Motherhood, family Natalie Griffo 10/31/18 Chloé | 08 - 09 Months Read More
Motherhood, Baby, Life Natalie Griffo 5/31/18 Motherhood, Baby, Life Natalie Griffo 5/31/18 Chloé | 04 Months Read More
Baby, Motherhood, Villa, Interior Design Natalie Griffo 5/15/18 Baby, Motherhood, Villa, Interior Design Natalie Griffo 5/15/18 Chloé's Nursery Reveal Read More
Life, Motherhood, Baby Natalie Griffo 4/1/18 Life, Motherhood, Baby Natalie Griffo 4/1/18 Chloé | 02 months Read More
family, Baby, Life, Motherhood, portrait Natalie Griffo 2/28/18 family, Baby, Life, Motherhood, portrait Natalie Griffo 2/28/18 Chloé | 01 Month Read More